Generating business credit reporting files
You need to generate the business credit reporting file if you use the format to report information to the credit reporting agencies for a business. This file contains the business accounts on The Collector System.
After converting to The Collector System, your agency generates a credit reporting test file to determine if the credit reporting agency can read the information on the file. After the credit reporting agency accepts the format, you will seldom need to use the test file option.
To generate the business credit reporting files:
-
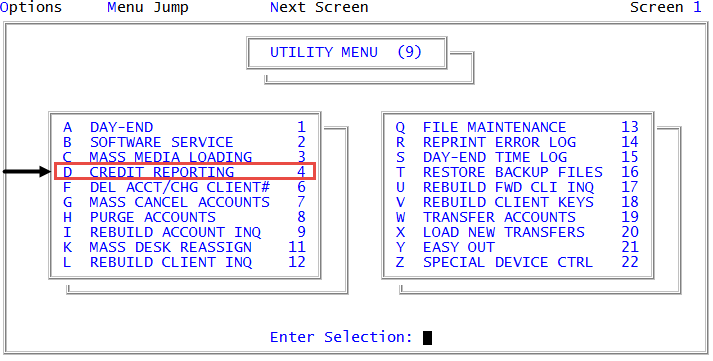
From the Master menu, navigate to
 Utility > Credit Reporting (menu 9.4).
 - In the Credit Reporting window, select Generate Business File, and press Enter or click Ok.
- At the Is this a test run? prompt, do one of the following:
- If this is a test run, click Yes.
- If this is not a test run, click No.
- To return to the Credit Reporting window, click Cancel.
- In the Enter Name of Credit Bureau window, type the name of the credit reporting agency, and press Enter or click Ok.
-
Do one of the following:
To a tape
- In the Output to window, select Tape.
- In the Put Tape On-Line. Enter command to select the tape unit. window, type the command to select the tape, and press Enter or click Ok.
For example, type T-ATT SCT0, and press Enter or click Ok. The system assembles the data and prompts you to rewind the tape.
To a file using CU·Emulate
- In the Output to window, select File.
- In the Select Transfer Protocol window, select CUEmulate.
- In the DOS file to create for CR.RPT(?) window, accept the default name for the file, or type the file name, and press Enter or click Ok.
- At the Begin transmission prompt, to export files, click Ok.
- In the Transfer Status window, press Enter.
To a file using WIN/NT
- In the Output to window, select File.
- In the Select Transfer Protocol window, select WIN/NT.
- In the WIN/NT file to create for CR.RPT(?) window, accept the default name for the file, or type a new one, and then to begin the transmission, press Enter or click Ok.
- In the File Transfer window, to export files, click Ok.
- In the Transfer Status window, press Enter.