Configuring multi-page letters/notices
The Multi-page Documents feature allows you to create a single letter whose text covers more than one page. You can send the document to accounts for a specific reason, just like any other letter/notice, such as for accounts on payment plans.
Multi-page documents include the following functionality:
- They use one letter/notice form.
- Printing restrictions (such as balance or status codes) are applied to the first letter in the multi-page document. The system verifies the first letter in the multi-page document only.
Letter sets allow you to send a group of individual letters to accounts for a specific reason, such as legal or court documents. Letter sets include the following functionality:
- They use multiple letter/notice forms.
- The letters in the group print together only if they use the same form. You cannot control the print order.
- Printing restrictions are applied to each letter in the letter set. The system verifies each letter in the letter set.
- Each letter is counted in accumulating costs.
To configure multi-page letters/notices:
-
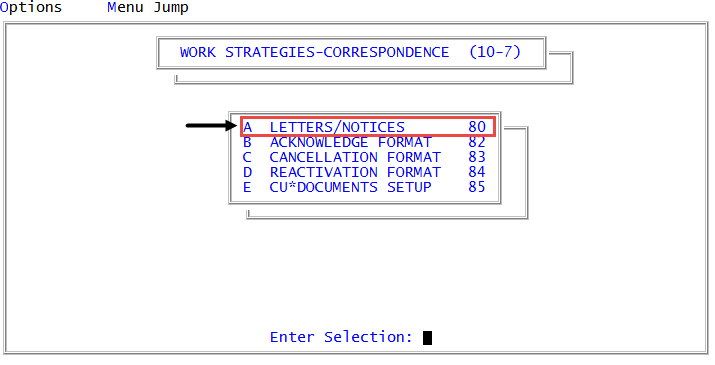
In the Master menu, navigate to
 Management Strategy > Correspondence > Letters/Notices (menu 10.7.80).
 - In the Letters/Notices Setup window, select Multi-Page Documents/Ltr Sets, and press Enter or click Ok.
- In the Multi-Page Document / Letter Set Update window, do one of the following:
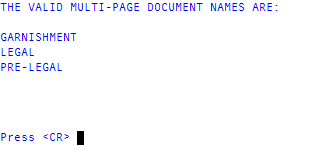
- If you do not know the name of the document, to list current multi-page letters/notices, select List Current Document Names and click Ok.
In the Valid Multi-Page Document Names Are screen, when you finish viewing the documents, press Enter. Repeat Step 3.
- If you know the name of the document, to create or change multi-page letter/notices, select Update Document and click Ok.
- If you do not know the name of the document, to list current multi-page letters/notices, select List Current Document Names and click Ok.
- In the Enter Document Name window, do one of the following, and press Enter.
- Type the name of the document you want to update, and press Enter or click Ok.
- Type the name of the document to create, and press Enter.
- At the multi-page letter/notice name Not in Document file. Add? prompt, click Yes.
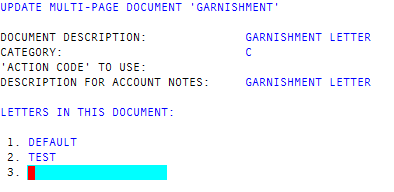
- In the Update Multi-Page Document multi-page letter/notice name screen, do the following, and press Enter.
- In the Document Description field, type a description for the document.
- In the Category field, type a letter corresponding to the type of document you are creating.
- The categories are legal, type of business, and state.
- In the 'Action Code' To use field, type an action code.
- The action codes are schedule next work date, action, and status.
- In the Description For Account Notes field, type a description to add to the account notes when this document is requested.
In the Letters In This Document section, type the names of the letters/notices in the order they will be in the document.
When the letters/notices are printed, they print in the order you enter them.
-
To save your document, in any field, type #, and press Enter.
The multi-page letter/notice is saved.