Configuring credit delay tables
Use this option to delay when to send accounts to credit reporting agencies. You can set the delay period based on:
- The date the account was assigned to your agency.
- The date of the last client charge or payment.
- The date of the first payment delinquency.
- A specified Fiscal field.
For example, a fictitious agency, Lake Assets, sends accounts that have an assigned amount of $1,000 or less to their credit reporting agencies after only 30 days. But, for accounts with an assigned amount of $5,000 or more, they wait until 120 days.
To configure credit delay tables:
-
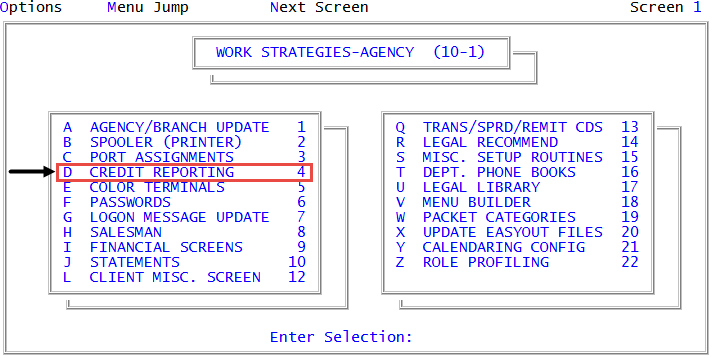
From the Master menu, navigate to
 Management Strategy > Agency > Credit Reporting (menu 10.1.4).
 - In the Credit Reporting Setup window, select Credit Delay Table, and press Enter or click Ok.
-
Do one of the following:
Type a new code
In the Create/Update Credit Delay Group Codes screen, at the Credit Delay Group Code (?) field, type the code.
When creating codes, do not use Y, N, or a number by themselves because they are already reserved in the system. For example, type MEDICAL.
Choose from a list of available codes
- In the Create/Update Credit Delay Group Codes screen, in the Delay Type (?) field, type ?, and press Enter.
- In the Existing Delay Codes window, select a code, and press Enter or click Ok.
- In the Create/Update Credit Delay Group Codes screen, in the Delay Type (?) field, type ?, and press Enter.
-
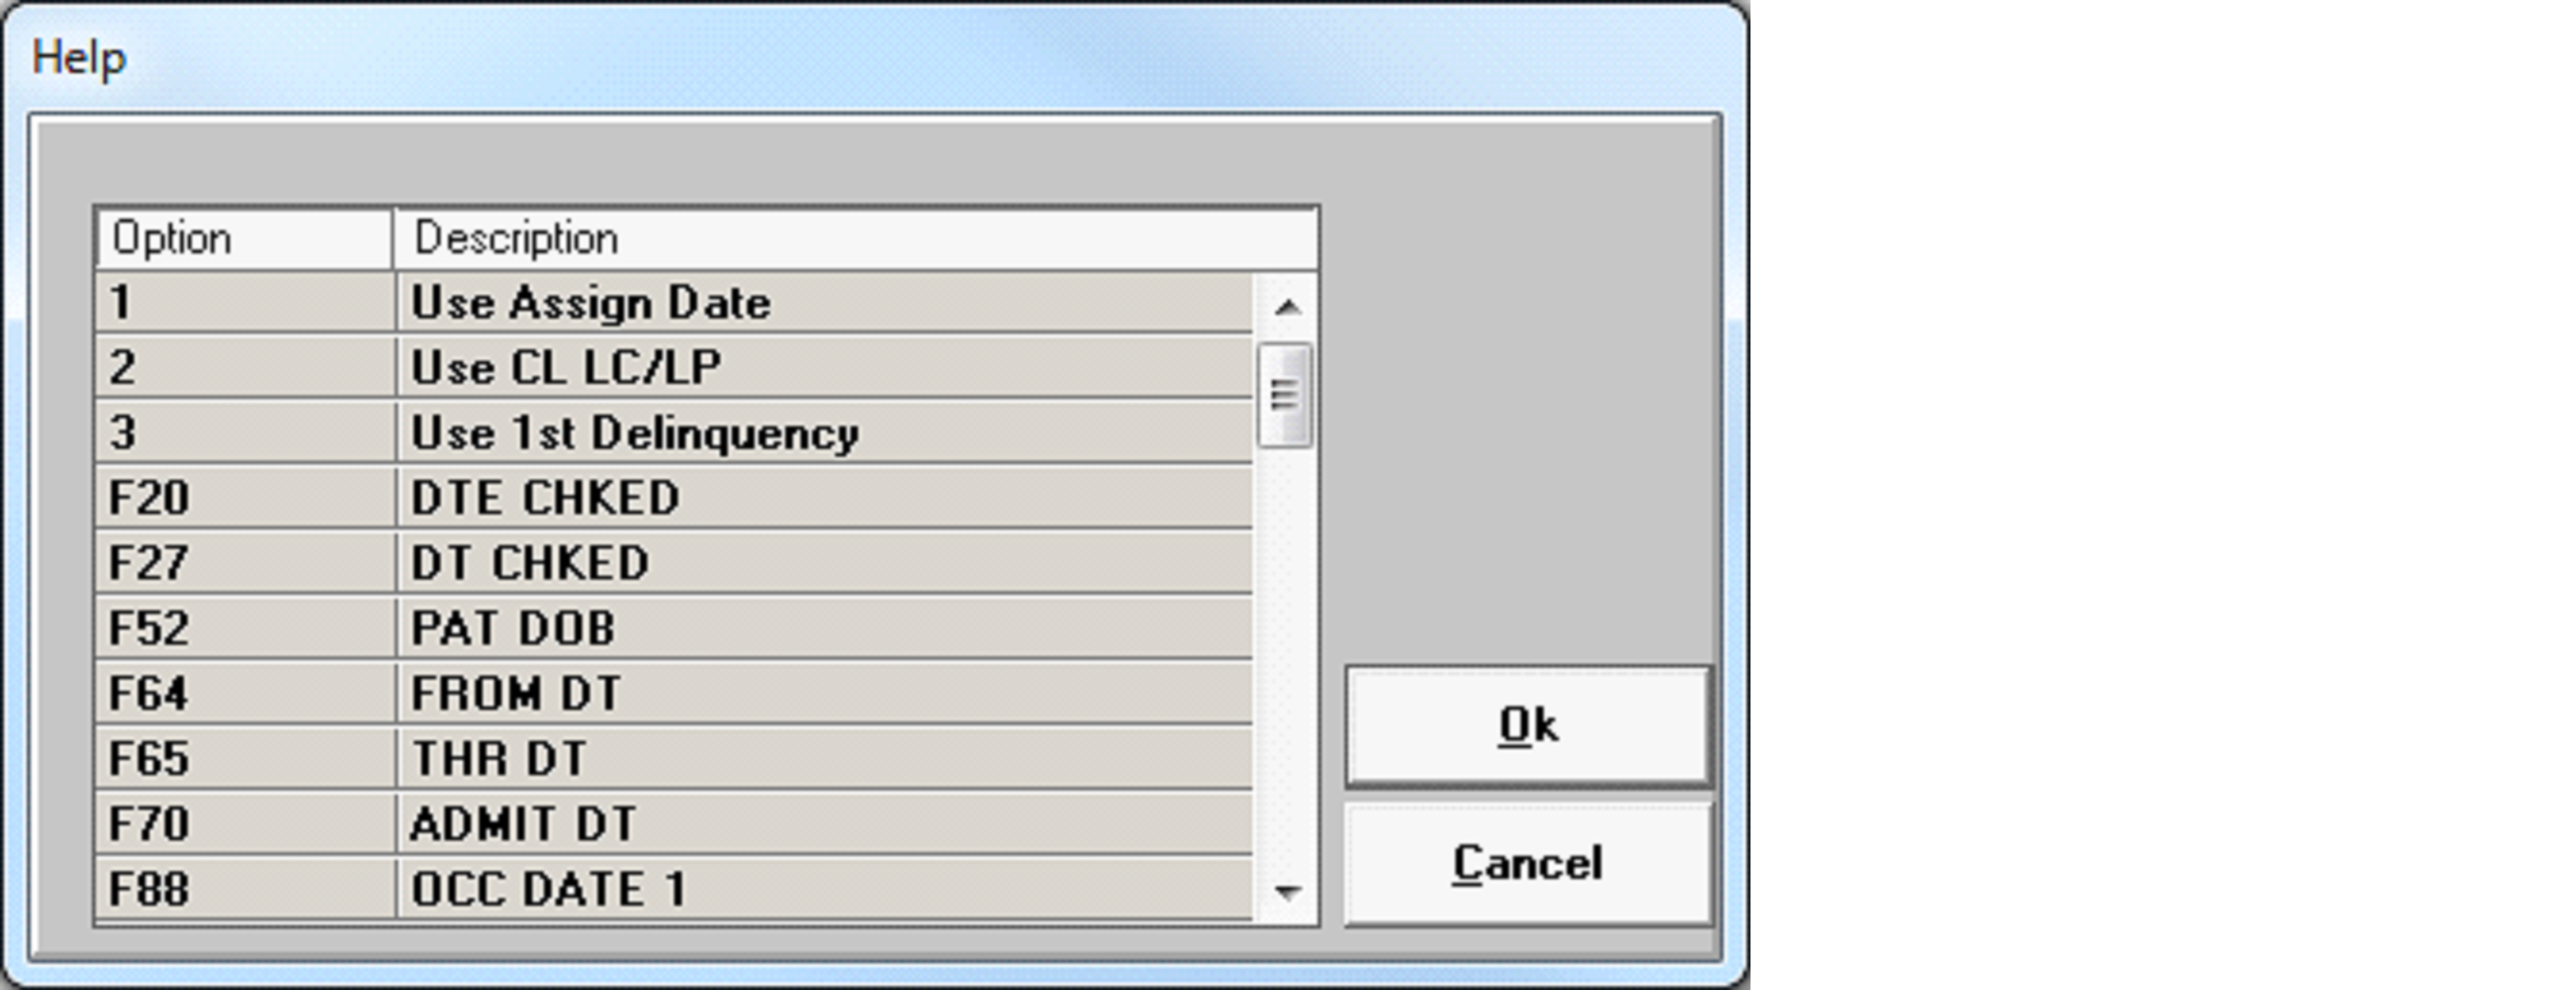
In the
Help window, select one of the options, and press Enter or click Ok.Option number descriptions
Number
Option
Description
1
Use Assign Date
Use the date that the debt was assigned.
2
Use CL LC/LP
Use the date of the last client charge or payment. CL LC/LP means Client Last Charge/Last Payment.
3
Use 1st Delinquency
Use the date of the first delinquency.
Fn (n = the Fiscal field number)
Fiscal field
Use the specified Fiscal field.
If your agency has specified a Fiscal field, but no data exists in the field, The Collector System will use the 1st Delinquency date for the comparison date.
- In the Create/Update Credit Delay Group Codes screen, in the Assign/Amt field, type an amount, and press Enter. For example, type 1000, and press Enter for all amounts less than or equal to 1000.
- In the Delay field, type the delay period in days, and press Enter. For example, type 30.
- Repeat Step 6 and Step 7 until you finish entering all the delay periods for specific amounts.
- In the Assign/Amt column, to enter a delay period for all remaining amounts, type X. All other debt amounts are assigned to the final delay period you enter.
- In the Delay column, type the delay amount in days, and press Enter.
- At the OK to File? (CR=Y, N, 'DEL', /) prompt, do one of the following, and press Enter:
- To save, type Y.
- To exit the screen without saving, type N.
- To delete the information in the credit delay table, type DEL, and press Enter.
- At the OK to Delete? prompt, type Y, and press Enter.
- To continue making changes in the Create/Update Credit Delay Group Codes screen, type /.