Creating or changing client miscellaneous fields
Use this option to create or change existing miscellaneous fields.
To create or change client miscellaneous fields:
-
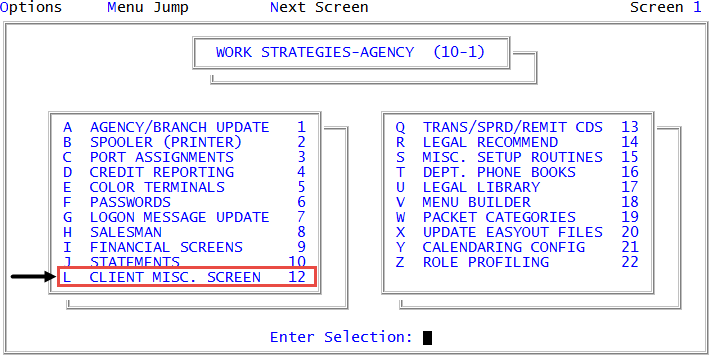
From the Master menu, navigate to
 Management Strategy > Agency > Client Misc. Screen (menu 10.1.12).
 - In the Client Misc Screen Update window, select Update Client Misc Screen, and press Enter or click Ok.
- In the Enter Field Number window, do one of the following:
- To accept the next available Client Miscellaneous screen field number, press Enter or click Ok.
- Type the number of the field to update, and press Enter or click Ok.
-
In the Data Type (D, $, N, X, L) field of the Client Miscellaneous Screen Update, using the following table, select the type of data to store in the field, and press Enter.
Data Type Options
Description
D
Indicates the field stores a date (MM-DD-YY).
$
Indicates the field stores a dollar amount.
N
Indicates the field stores numeric information only. For example, use this field for a social security number without hyphens, or a numeric client reference number.
X
The most common data type. Indicates the field stores alpha information, numeric information, or a combination.
L
Indicates the field stores a label.
-
In the Enter Description field, type the field name as it will display on the Client Miscellaneous screen, and press Enter.
The description can include up to ten character types for data types other than labels. Label descriptions can have up to 35 characters. Use abbreviations if necessary.
-
In the Max Length for Input field, type the maximum number of characters to be input, and press Enter.
The system automatically fills this field with the maximum length allowable for the type of data this field stores. You can update it to a smaller length, but the maximum length cannot be exceeded.
- In the Access Going Down (Y/N) field, to allow the cursor to access this field as it is moved down the fields of the Client Miscellaneous screen, type Y, and press Enter.
- In the Access Backing Up (Y/N) field, to allow the cursor to access this field as it is moved up the fields of the Client Miscellaneous screen, type Y, and press Enter.
-
In the Create Note field, to have a note created each time information in this field is updated, type Y, and press Enter.
When a note is created, it contains the information that was in the field before the update.
- At the Enter Field Number window, do one of the following:
- Repeat Steps 3-9.
- Click Cancel. At the OK to file? prompt do one of the following:
- To save the field(s), click Yes. At the Print dictionary listing? prompt, click Yes. For more information, see Printing a list of client miscellaneous fields.
- To exit without saving the field(s), click No.
- To return to the Enter Field Number prompt, click Cancel.
The system compiles the data and prints the sample report. You can now run the Client Inventory report as needed. For more information on running this report, see Menu 7.1 - Client Inventory.