Masking passwords and users
Password and user masking is the practice of replacing characters with asterisks or bullets to keep others from reading the information. The Collector System allows you to mask passwords and users in a few different ways.
To mask passwords and users:
-
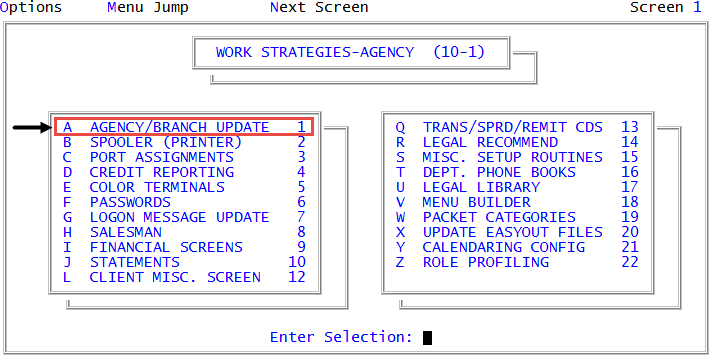
From the Master menu, navigate to
 Management Strategy > Agency > Agency/Branch Update (menu 10.1.1).
 - In the Agency/Branch Update window, select Update Agency Record, and press Enter or click Ok.
- Press Enter to navigate to the Password Masking field. Do one of the following, and press Enter:
To display an asterisk each time the user types a letter of their user login or password, type an asterisk (*).
For example, if the user's login or password is DUCKS, each letter displays as an asterisk as the user types it, such as *****.
To display only the first letter of the user login or password followed by an asterisk for each letter the user types, type F*.
For example, if the user's login or password is DUCKS, when the user types D, the letter D displays, but when the user types U, all of the letters display as asterisks. The letter D will then also change to an asterisk.
To display each letter of the user login or password as the user types it, but change the preceding letter to an asterisk when the user types the next letter, type *L.
For example, if the user's login or password is DUCKS, when the user types D, the letter displays until the user types U. At this point, the letter U displays and the letter D changes to an asterisk. This pattern occurs until the user has finished typing the user login or password, at which point all of the letters display as asterisks.
- To not display any letters or asterisks when the user types the user login or password, leave the field blank.
-
At the OK to File? prompt, do one of the following:
- To save the branch record and return to the Agency/Branch Update window, press Enter.
- To discard the branch record and return to the Agency/Branch Update window, type N, and press Enter.
- To go back and make changes to the current screen, type /, and press Enter.
After you save your changes, the screen displays the message that your changes are saved.