Posting transactions to precollect accounts
Use this option to post transactions for precollect accounts.
To post transactions to precollect accounts:
-
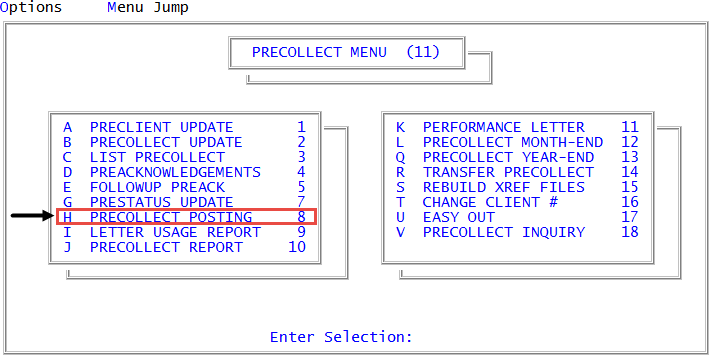
From the Master menu, navigate to
 Precollect > Precollect Posting (menu 11.8).
 -
If your agency auto prompts for batch, the Batch Number to Update window displays; select Go to Account Prompt, and press Enter or click Ok.
For more information and instruction on each option, see Managing batch options for precollect accounts.
-
At the Enter Precollect # prompt, type the account number, and press Enter.
There are a number of additional options available from the Enter Precollect # prompt, including options to search for account records. To view a list of the options, type ?, and press Enter at this prompt. For a list of options, see Marking a precollect letter as mail return.
- In the Amount (?) field, do one of the following:
- To enter a transaction, type the amount, and press Enter.
- To use an option, do one of the following:
- Type an option code, and press Enter.
- To choose from a list of options, type ?, and press Enter.
- In the Help window, select an option, and press Enter or click Ok.
- In the Trans Date field, do one of the following:
- Type the transaction date in MM-DD-YY format, and press Enter.
- To use the default date (displayed from the last transaction), press Enter.
-
In the Status/Desk field, to add the desk number, type the desk number (for example, D.3), and press Enter.
The system displays a message that the desk number is updated. The cursor remains in this field to allow you to enter a status code.
- In the Status/Desk field, type a status code for this account, and press Enter.
- At the OK (CR=Y, N) prompt, do one of the following:
- To save the changes, press Enter.
- To discard the changes, type N, and press Enter.
- To return to the Precollect Posting screen to continue making changes, type /, and press Enter.