Changing the initial reporting delay
You can change the initial reporting delay at the account level. This setting overrides the initial reporting delay at the client, agency, and credit reporting agency settings. For more information on changing the initial reporting delay, see Generating business credit reporting files.
To change the initial reporting delay:
-
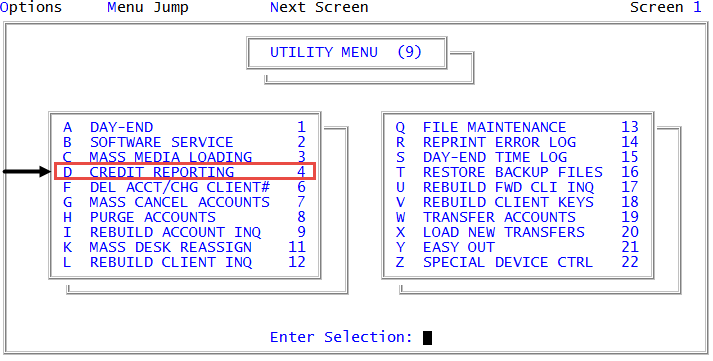
From the Master menu, navigate to
 Utility > Credit Reporting (menu 9.4).
 - In the Credit Reporting window, select Take Action on Account, and press Enter or click Ok.
- In the Debtor Number(s) Separated by a Semicolon window, do one of the following, and press Enter or click Ok:
- Type one or more account numbers, separating each with a semicolon.
- Type a Get-List or Select statement. For more information, Working with Recall.
- In the Credit Reporting Actions window, select Change Initial Reporting Delay, and press Enter or click Ok.
- In the Enter New Delay window, type a new delay in days, and press Enter or click Ok.
- In the Enter New Status Code (?) window, do one of the following, and press Enter or click Ok:
- Type a new status code.
To see a list of status codes, type ?.
- In the Status Codes window, select a status code, and press Enter or click Ok.
- At the Ok To Proceed? (Y/CR=N) prompt, type Y, and press Enter.
- At the Action accepted for debtor account number prompt, click Ok.
- At the Enter Debtor Number(s) Separated by a Semicolon window:
- To quit, click Cancel.
- To report another dispute as resolved for another account, return to Step 3.