Configuring business status codes
Configuring business status codes is the process of associating account status codes with credit reporting agency reporting categories. Use this option if you are using a business format.
-
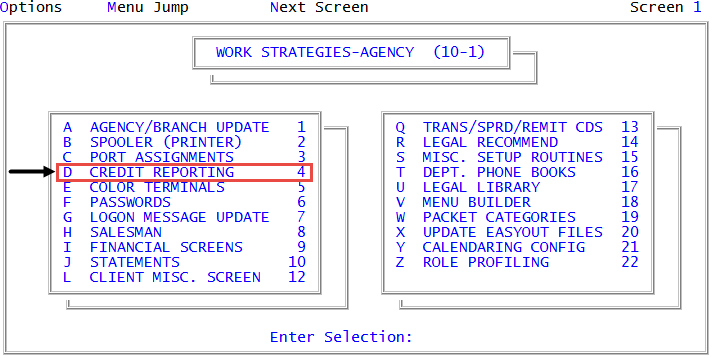
From the Master menu, navigate to
 Management Strategy > Agency > Credit Reporting (menu 10.1.4).
You can also access credit reporting agency setup options and controls from Utility > Credit Reporting (menu 9.4).
- In the Credit Reporting Setup window, select Business Status Codes, and press Enter or click Ok.
-
In the Credit Report Business Status Codes screen, in the Account Status Codes field, type one or more account status codes, separating each with a semicolon. Do this in each row that you want to associate with a credit reporting agency status code.
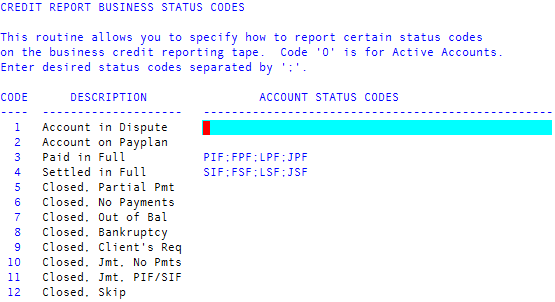
You should not change or delete specific account status codes; otherwise, routines that depend on those account status codes cannot work properly. To create new account status codes, see Creating or changing status codes. For a complete list of status codes, see Status codes. You should not change or delete the following codes in The Collector System:
- PIF - Paid-in-full
- SIF - Settled-in-full
- FWD - Account has been forwarded
- FPF - Forward paid-in-full
- HSE - House account
- LEG - Legal action taken
- LPF - Legal paid-in-full
- ACT - Active account
- CAN - Account canceled by client request
- To save, in any field, type /, and press Enter.
- At the OK to File? (Y, N, /) prompt, do one of the following, and press Enter:
- To save, type Y.
- To exit the screen without saving, type N.
- To continue making changes to the Credit Report Business Status Codes screen, type /.