Reactivating canceled accounts
Use this option to reactivate accounts that your agency has canceled.
To reactivate a canceled account:
-
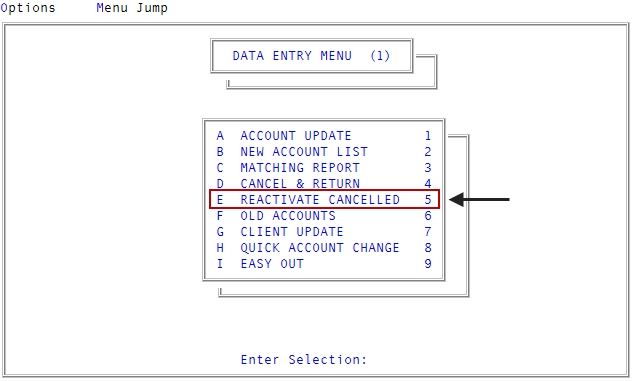
From the Master menu, select Data Entry > Reactivate Cancelled (menu 1.5).
- At the prompt warning that you must reinstate credit reporting manually for all reactivated accounts, to continue, press Enter or click Ok.
-
At the Enter Account Number prompt, do one of the following, and press Enter or click Ok:
- To reactivate an account, type the account number.
- To reactivate a group of accounts using a Get-List or Select statement, type the statement.
The Reactivate Cancelled screen displays with the account information, including the account number, client number, account name, account address, assigned amount, canceled amount, and the account status code.
- At the OK to Activate? prompt, to activate, press Enter or click Yes.
-
If the account uses a protected status code, at the OK to Change? prompt, do one of the following:
- To assign a new status code, select Yes.
- To use the current status code, click No. Proceed to Step 7.
This prompt only displays if your user login includes permission to change protected status codes. For more information, see Create users or change user settings.
- In the Enter New Status Code (?) window, do one of the following:
- To use the status code currently assigned to the account, press Enter or click Ok.
- To change the status code, type ?, and press Enter or click Ok.
- In the Status Codes window, select the status code to use, and press Enter or click Ok.
-
At the Add to Collector's Tickler? prompt, to continue, click Yes; otherwise, click No.
This prompt only displays when you enter an account number, not when you use a Get-List or Select statement.