Running the Matching report for all accounts
If you select the All Accounts option when generating this report, The Collector System matches both old and new accounts against each other.
You use the Matching report for All Accounts during conversion. We recommend that you use it rarely after conversion is complete. It takes a lot of resources to run the report for all accounts; after you run it once, you can use the Match Only New Accounts and Match Only 'Changed' Accounts options to check for additional matches.
To manually run the Matching report for all accounts:
-
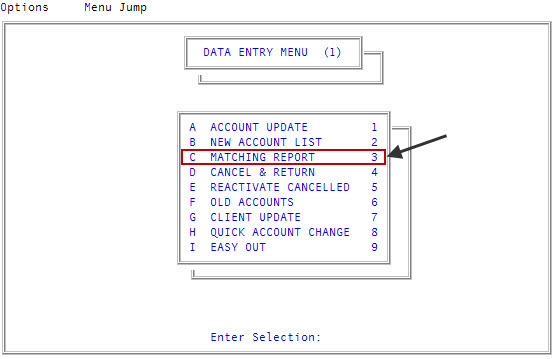
From the Master menu, navigate to Data Entry > Matching report (menu 1.3).
- In the Matching Report window, select Match All Accounts, and press Enter or click Ok.
- In the Enter Starting Assignment Date window, do one of the following:
- Type the first date to include, and press Enter or click Ok.
- To accept the default, ALL, press Enter and click Ok.
- In the Enter Desk(s) to Match Separated by a Semicolon window, do one of the following, and press Enter or click Ok.
- Type the desk numbers, separating each with a semicolon.
- To include all desks, type ALL.
- To use a Get-List or Select statement, type the statement, and press Enter or click Ok. For more information, see Working with Recall.
- At the Automatic Packeting prompt, do one of the following:
To automatically packet matching accounts, click Yes.
The Collector System automatically packets the matching accounts when Day-End runs.
To manually packet matching accounts, or to test scoring, click No.
The matching accounts display on the report. You can use this information to test the scoring you have set up, by seeing how things match. Or, after reviewing the report, you can manually packet the accounts. For more information on packeting accounts, see Managing packets.
- To return to the Enter Starting Setup Date window, click Cancel.
-
At the OK to print? prompt, click OK.
For an example of the Matching report and explanation of the fields in the report, see Reprinting the Matching report.