Creating and changing forward agency records
Before you can use the semi-automatic forwarding options, you must set up a forward client in The Collector System. If you make payments to forward clients, you must set up the client using the Client Update screen.
To create or change a forward agency record:
-
From the Master menu, navigate to
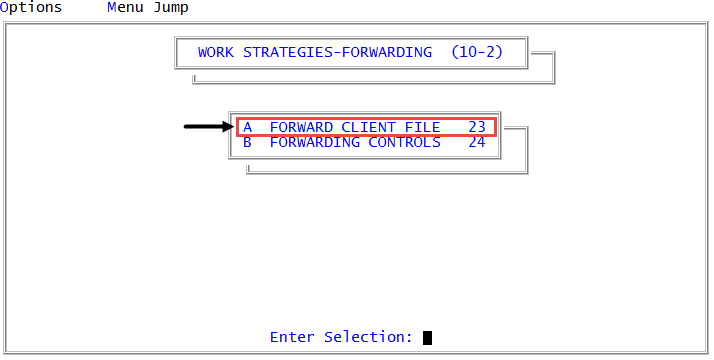
 Management Strategy > Forwarding > Forward Client File (menu 10.2.23).
 - In the Forward Client Update window, select Add or Update Forward Clients, and press Enter or click Ok.
-
At the Enter Forward Client Number (?) prompt of the Forward Client Update screen, do one of the following:
- If you are entering a new forward agency or updating an existing one, type the code your agency uses to identify this agency, and press Enter.
- To view a list of options available from this prompt, including searching for a forward agency number before entering a new record in the system, type ?, and press Enter.
The forward agency number can be alphabetic, numeric, or a combination of both and can be up to 10 characters long. It cannot contain asterisks, dashes, or spaces.
There is no automatic numbering system for forward agencies. For clarity, we suggest you include part of the forward agency's name in the number. For example, for General Telephone, you could use GEN100.
- If this is a new forward agency, at the New Forward Client Record? (CR=Y, N) prompt, type Y, and press Enter.
- In the Cli Name field, type the name of the forward agency, and press Enter.
- In the Address field, type the forward agency's street address, and press Enter.
-
In the City field, do one of the following:
- Type the forward agency's city name, and press Enter.
- Type a city code, and press Enter. Proceed to Step 10.
You can set up additional city codes as shortcuts for entering city, state, and zip code information. For more information, see Assigning or changing city codes for forward agencies.
- In the St field, type the two-character abbreviation of the forward agency's state, and press Enter.
- In the Zip field, type the forward agency's zip code, and press Enter.
- In the Phone field, type the forward agency's telephone number, including area code, and press Enter.
- In the Fax field, type the forward agency's fax number, including area code, and press Enter.
-
In the Contact field, type the name of a person you can contact at the forward agency's office, and press Enter.
This is usually a person who handles the forward agency's finances such as a clerk or bookkeeper.
- In the Forward Rate field, do one of the following:
Type the commission rate charged by the forward agency, as a decimal (for example, 20% = .20), and press Enter.
You can enter up to four digits after the decimal point.
Type a short description (for example, legal rate), and press Enter.
The description is used for display purposes, and it cannot be used to calculate any forward fees.
-
In the Client# field, if this forward agency is also a trust client, enter the trust client number, and press Enter.
A forward agency may also be a trust client if they forward accounts from their agency to yours. By adding their number to this field, it ensures the trust notes and miscellaneous screens are also accessible from this screen.
-
In the Letter To Use field, type the name of the letter the system requests when an account is forwarded, and press Enter.
If you leave this field blank, the default forward letter set up in forward controls. For more information, see Configuring forward controls.
The system skips over the Last Use field as it is not accessible. This field is automatically updated by the system.
-
In the Status field, type any three characters (except INA) to indicate the status of this forward account, and press Enter. This field is optional, but it can be useful when generating reports. For more information, see Menu 7.21 - Easy Out.
The status code INA is reserved to indicate inactive forward agencies. Agencies with this status code remain on the system, but no new accounts can be forwarded to them and they do not display on any inquiry screens.
- In the Note Lines 1 field, type any additional information your agency needs to know about the forward agency, and press Enter.
- In the Note Lines 2 field, type any additional information your agency needs to know about the forward agency, and press Enter.
- At the OK to File? prompt, do one of the following, and press Enter:
- To save the agency record, type Y.
- To discard the changes to the agency record, type N.
- To make changes to the screen, type /.