Parallel strategy process indicators
Using Process Scheduler, you can automatically execute certain processes, including parallel strategies, according to custom schedules. After you create a schedule, use the Parallel Process Indicator option to link a process indicator to a schedule. For each process indicator you create, an additional option displays in the Parallel Strategy Process Indicator window when you create or change a parallel strategy.
-
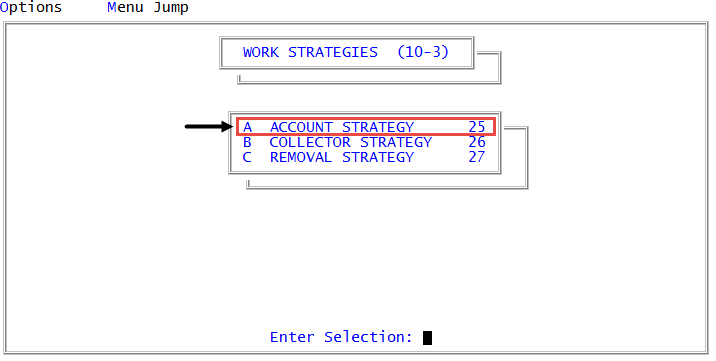
From the Master menu, navigate to
 Management Strategy > Work Strategies > Account Strategy (menu 10.3.25).
 - Account Flow Manager window, select Parallel Process Indicator, and press Enter or click Ok.
-
In the Parallel Process Indicator window, do any of the following:
Create a new process indicator
- Select Add New Process Indicator, and press Enter or click Ok.
- In the Process Indicator window, type a name, and press Enter or click Ok.
- In the Indicator Description window, type a description, and press Enter or click Ok.
Change an existing process indicator
- Select the process indicator to change, and press Enter or click Ok.
- In the Process Indicator - name window, select Schedule, and press Enter or click Ok.
Delete a process indicator
You can't delete a process indicator that is currently in use. You must first remove the process indicator from all parallel strategies.
- Select the process indicator to delete, and press Enter or click Ok.
-
In the Process Indicator - name window, select Delete, and press Enter or click Ok.
You are finished with the procedure. Do not continue to the next step.
-
In the Select Schedule to Use window, do one of the following:
If there are no existing schedules, the selection window does not display. Skip to the applicable following sub-steps for creating a new schedule.
- To use an existing schedule, select the schedule, and press Enter or click Ok.
- To create a new schedule, select Add New, and press Enter or click Ok.
- In the Schedule ID window, type a unique ID for the schedule, and press Enter or click Ok.
- In the Schedule Description window, type a description for the schedule, and press Enter or click Ok.
- In the Enter Start Date window, type the scheduled process start date, and press Enter or click Ok.
- In the Enter Start Time window, type the scheduled process start time, and press Enter or click Ok.
- In the Enter Expiration Date (Optional) window, do one of the following:
- To have the scheduled process expire, type the expiration date, and press Enter or click Ok.
- To have the scheduled process not expire, leave the window blank, and press Enter or click Ok.
-
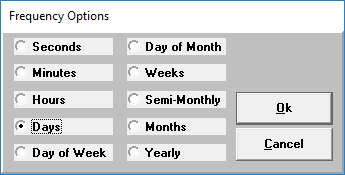
In the Frequency Options window, select a frequency.
 Seconds
In the Number of seconds field, type the number of seconds between process execution, and press Enter.
Minutes
In the Number of minutes field, type the number of minutes between process execution, and press Enter.
Hours
In the Number of hours field, type the number of hours between process execution, and press Enter.
Days
In the Number of days field, type the number of days between process execution, and press Enter.
Day of Week
Rules
- Enter days of the week as numbers 1 through 7, where 1=Monday.
- Separate a sequence using a semicolon (;).
- Use a hyphen (-) for a range.
Examples
For Monday through Wednesday, type 1-3.
For Monday, Wednesday, and Friday, type 1;3;5.
In the Day(s) of the week field, type the days of the week for process execution, and press Enter.
Day of Month
Rules
- Enter days of the month as numbers.
- For the last day of the month, type L.
For days from the last day of the month, type L-n.
Example: For the fifth from the last day of the month, type L-5.
- Separate a sequence using a semicolon (;).
- Use a hyphen (-) for a range.
-
For first, second, third day of the week for the month, type Place/Day of week.
Examples: First Friday, 1/5. Third Thursday, 3/4.
In the Day(s) or range of days field, type the days or range of days of the month for process execution, and press Enter.
Weeks
In the Number of weeks field, type the number of weeks between process execution, and press Enter.
Semi-Monthly
No additional input is required.
Months
In the Number of months field, type the number of months between process execution, and press Enter.
Yearly
No additional input is required.
- At the OK to File? prompt, do one of the following:
- To file the process, type Y, and press Enter.
- To not file the process, type N, and press Enter.
- To go back and edit the fields, type /, and press Enter.