Printing client information
Use this option to print the information included in the Client Update screen.
To print client information:
-
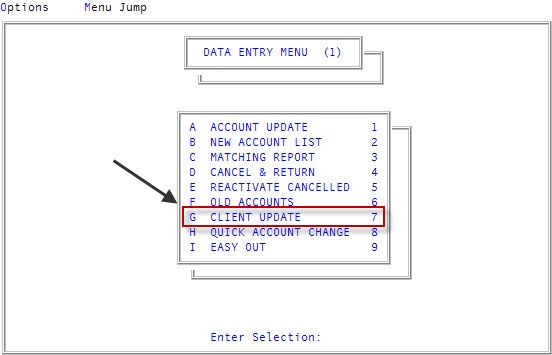
From the Master menu, navigate to Data Entry > Client Update (menu 1.7).
You can also access this routine from Management Strategy > Client > Client Update (menu 10.6.60).
-
At the Enter Client # (?, /) prompt, type a client number, and press Enter.
For a list of the commands available in this field, see Using client # prompt options.
-
In the Cli Name field, type /PC, and press Enter.
In the Cli Name field, if you forget to type / before workstation, a warning message displays asking you to confirm that you want to change the client's name.
For a list of the commands available in this field, see Using client name field options.
- In the Note Printing window, select one of the following:
- To print all notes, click Print All Notes, and press Enter or click Ok.
- To print the payment history only, click Payment History Only, and press Enter or click Ok.
- To skip the printing of any notes, click Do Not Print Notes, and press Enter or click Ok.
- In the Print distribution data? window, do one of the following:
- To print distribution data, click Yes.
- To skip the printing of the distribution data, click No.
- To return to the previous window, click Cancel.
- In the Print control data? window, do one of the following:
- To print control data, click Yes.
- To skip the printing of the control data, click No.
- To return to the previous window, click Cancel.
-
In the Print misc data? window, do one of the following:
- To print misc data, click Yes.
- To skip the printing of misc data, click No.
- To return to the previous window, click Cancel.
A message displays that the information is being sent to the printer.