Payment service
The payment service is an add-on for The Collector System that also requires the Cloud phantom service. For information about the payment service and Cloud phantom service installation, contact your Finvi Support representative.
The payment service is an Finvi product that provides payment processing using a secure cloud site, which relieves The Collector System from having to interact with PCI data. Once you activate payment service, all actions that require protected payment information are routed through a browser to the payment service cloud site.
Modified process flows from the Collector screen (menu 5.1):
- ACH command (ACH payment)
- BC Command (bank card payment)
- Entering SPA payment sources from bank cards and ACH
- PYS command (payment sources)
- H command (payment plan)
Payment service administration website
You can access the payment service administration website from within The Collector System.
For information on how to interact with the administration website, see the payment service help.
To access the payment service administration website:
- From the Master menu, navigate to Utility > Cloud Services > Payment Service (menu 9.58.4).
-
From the Payment Service Setup window, select Administration Website, and click Ok.
A browser window opens to the administration website login page.
Client vendor setup
Payment service allows you to configure different payment vendors for each client and payment type. If vendors are not set for a particular client, The Collector System uses the AGENCY setting.
To setup client vendors:
- From the Master menu, navigate to Utility > Cloud Services > Payment Service (menu 9.58.4).
- From the Payment Service Setup window, select Client Vendor Setup, and click Ok.
-
In the Enter Client Numbers... window, you can update the vendor setup for one or more clients, the agency, or clients on a list. Do one of the following, and press Enter or click Ok:

- Type one or more client numbers, separating each with a semicolon.
- Type AGENCY.
- Type a GET-LIST or SELECT statement. For more information, see Working with Recall.
-
In the Client Vendor Setup screen, for each ...Vendor ID field, do one of the following, and press Enter:
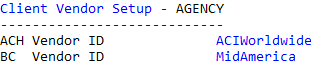
- Type a vendor name, and press Enter.
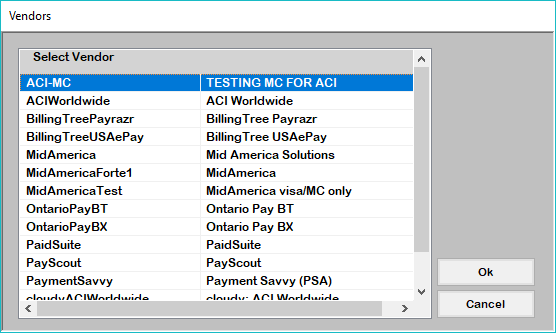
- To select from a list of vendors, type /U or ?, and press Enter.
In the Vendors window, select a vendor, and press Enter or click OK.
- At the File Changes prompt, press Enter.
Payment service activation
Once you activate payment service, it can't be deactivated.
- From the Master menu, navigate to Utility > Cloud Services > Payment Service (menu 9.58.4).
-
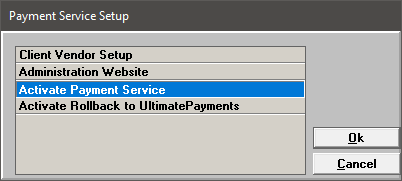
From the Payment Service Setup window, select Activate Payment Service, and click Ok.
-
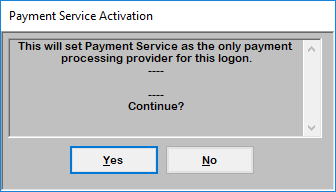
In the Payment Service Activation window, select Yes.
-
At the Payment Service has been activated prompt, click OK.
Activate Rollback to UltimatePayments
The Rollback feature is only available to Agencies which were previously setup and using UltimatePayments prior to activating the cloud Payment Service. Agencies who were not UltimatePayments clients will not see the Activate Rollback to UltimatePayments menu item.
UltimatePayments clients who have activated the cloud Payment Service have an option to rollback to using the UltimatePayments service should there be an outage with the cloud. The rollback feature allows new payment plans to be created and immediate payments to be made via UltimatePayments. Once the cloud Payment Service is restored, the rollback option can be deactivated.
To activate the rollback to UltimatePayments:
- From the Master menu, navigate to Utility > Cloud Services > Payment Service (menu 9.58.4).
-
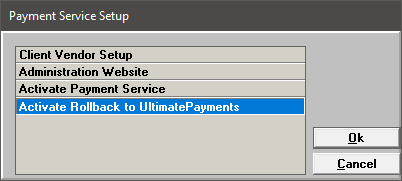
From the Payment Service Setup window, select Activate Rollback to UltimatePayments, and click Ok.
-
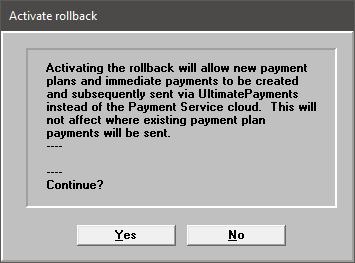
In the Activate rollback window, select Yes.
- New Payment, Post-Dated Check, and SPA Plans will be created using UltimatePayments.
- New Immediate ACH and Bankcard payments will be transmitted using the UltimatePayments service.
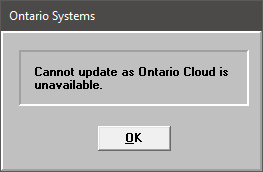
- Any plans or payments which were setup using the cloud Payment Service prior to activating the rollback cannot be updated while in rollback mode. Trying to do so will result in this message:
-
Payment Plans or payments setup with UltimatePayments while in rollback mode can be updated to use the cloud Payment Service once the cloud Payment Service is available and rollback mode has been deactivated.
Deactivate Rollback from UltimatePayments
Once clients are notified that the cloud Payment Service has been restored, the rollback feature should be deactivated.
To deactivate the rollback from UltimatePayments:
- From the Master menu, navigate to Utility > Cloud Services > Payment Service (menu 9.58.4).
-
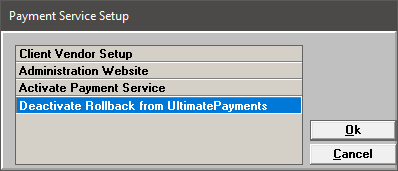
From the Payment Service Setup window, select Deactivate Rollback from UltimatePayments, and click Ok.
Things to know while the Rollback feature is Activated:
Associated user setup
In order to use the payment service, each user logon must be associated to a unique user ID.
To register a user ID in The Collector System, the Cloud phantom must be running.
- From the Master menu, navigate to Management Strategy > Agency > Passwords (menu 10.1.6).
- In the Enter Master Password window, type the master password, and press Enter or click Ok.
-
In the Password Update Routine window, select User Access Control, and press Enter or click Ok.
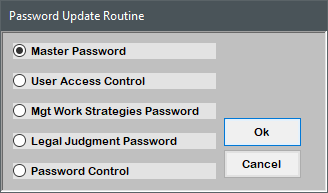
-
In the Select User Access Control Option window, depending on the type of user access your agency uses, select one of the following, and press Enter or click Ok.
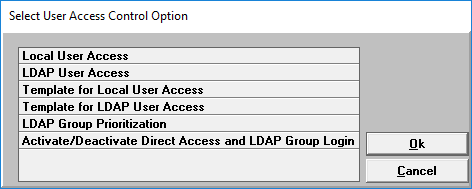
 Local User Access
- In the Enter User Login window, type the user name, and press Enter or click Ok.
- At the Enter Option prompt, type A, and press Enter.
LDAP User Access
- In the Employee Initials field, type the user initials, and press Enter.
- In the Employee Name prompt, type /A, and press Enter.
-
In the Payment Service field, type the associated user ID, and press Enter.
The associated user ID is case sensitive. Whatever case you use to setup the associated user ID here will need to be used to successfully log on to the Payment Service site.
To re-register a pre-existing associated user ID, type /R, and press Enter.
- At the File Changes prompt, press Enter.
User registration
Once an administrator has configured an associated user ID, the user must register online with the payment service.
User registration with email
- In your registered email inbox, open the registration email, and click the registration link.
-
Fill in the registration page data, and click Register.
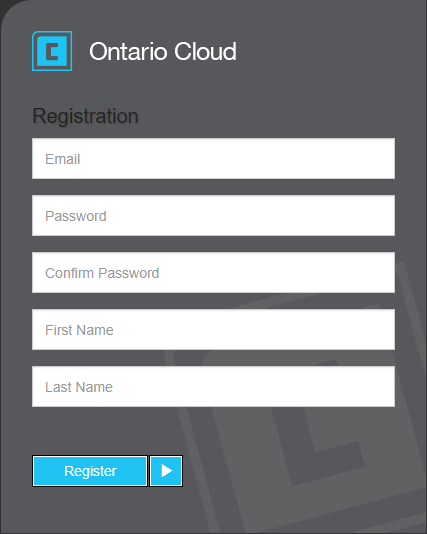
The payment service sends a registration confirmation email.
User registration without email
See Register services.