Delete an account after the day it was created
Use this option to delete an account anytime after the day it was created. To delete an account the same day it was created, use the /DEL option from Menu 1.1 - Account Update.
There are five conditions that prevent you from deleting an account. If any of the following messages display, make the necessary changes, and then return to menu 9.6.
|
Message |
Description |
|
Must first remove account from packet |
The account belongs to a packet. In the Account Update screen, delete the account from the packet by entering a minus sign (-) in the PKT field. For more information, see Pkt (n, +, -) in Adding or editing an Account record. |
|
Must first remove account from payment plan |
The account is a part of a payment plan. To delete the payment plan, in the Payment Plan screen, type DEL in the Payment Amount field. For more information, see Using payment plans. |
|
Must first remove account from judgment file |
In the Judgment window from the Account Update, Post, or Collector screen, type # in the Ok to File prompt, and type DEL. For more information, see Managing judgments. |
|
Account has been canceled |
Use option 5 of the Reactivate Canceled routine in the Data Entry menu to reactivate this account record. For more information, see Reactivating canceled accounts. |
|
Cash has been receipted |
You must reverse or adjust the transaction before you can delete the account. If the transactions took place during the current month, use the Cancel Post option. If the transactions took place prior to the current month, use Post Adjust. For more information, see Cancel transactions posted during the current month or Cancel transactions posted during the current month. |
To delete an account after the day it was created:
- From the Master menu, select Utility > Del Acct/Chg Client# (menu 9.6).
-
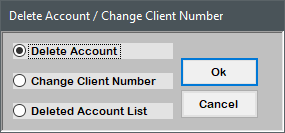
In the Delete Account / Change Client Number window, select Delete Account, and press Enter or click Ok.
-
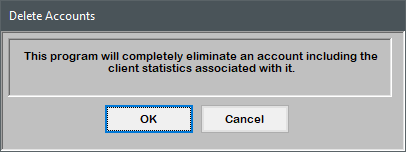
At the warning prompt, to continue, press Enter or click Ok; otherwise, click Cancel.
- In the Enter Account Number(s) window, do one of the following:
- Type the account number(s), separating each with a semicolon, and press Enter or click Ok.
- To use a Get-List or Select statement, type the statement, and press Enter or click Ok. For more information, see Working with Recall.
-
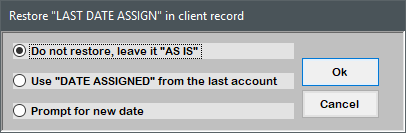
In the Restore "Last Date Assign" in client record window, do one of the following, and press Enter or click Ok:
- To retain the original date the account was assigned to the client, select Do not restore, leave it "As Is".
- To change the date the account was assigned to the client to the assigned date of the last account assigned to this client, select Use "Date Assigned" from the last account.
- To change the date the account was assigned by entering a new date, select Prompt for new date.
- In the Enter the Last Date Assign window, type the new assignment date, and press Enter or click Ok.
-
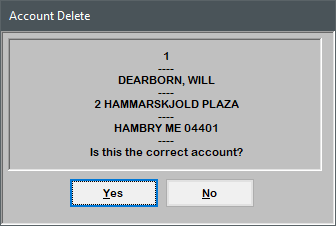
In the Account Delete window, review the account number, name, and address. To delete the account, click Yes; otherwise, click No.
-
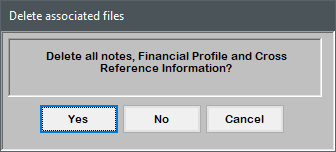
At the Delete associated files prompt, do one of the following, and press Enter:
Every account file has associated notes and financial profile files. The same number is assigned to these files and the account record. For example, account 1357 is accompanied by notes file 1357 and financial file 1357. Typically, this information should also be deleted when the account record is deleted. If a new account is created using the deleted account number, any associated, undeleted files are attached to the new account.
 Delete the account information, but save the notes, Financial Profile, and cross-reference information to use them for a new account
- Click No.
- To create a new account using the same account number you just deleted, at the Enter Account# prompt, type the deleted account number, and press Enter.
- Enter the new information in the appropriate fields using the steps in Working with Account records.
The notes, Financial Profile, and cross-references from the account you deleted are now included in the new account.
Exit without deleting the account
Click Cancel.